29 March 2011

Roasted Cauliflower "Fries" with Homemade Ketchup

So, it turns out that I'm a big fan of the species Brassica oleracea. Who knew? Some of my favorite veggies like cabbage, brussell's sprouts, kale, broccoli and cauliflower are all distant cousins. They're a bit of a strange looking crew, and they tend to get a bad rap, especially with the kids (btw, just had to double check that it was bad "rap", and not bad "wrap"...what would I do without Google?). I can understand it, too because I wasn't too fond of cauliflower when I was little--it looks like curdly, albino broccoli.

These days, though, I'm loving the stuff. Like Bubba and his beloved shrimp...I like cauliflower raw, dipped in hummus or tahini. I like it cooked and mashed, with olive oil, garlic and herbs. I like it stir fried with other veggies, and added to curries, masalas, and soups. I thought I'd tried them all, until one day I read this post from Katie. Roasted cauliflower?! Now I'm hooked.

Just cut it up and bake it at 400F for 30 minutes. If you want it crispier, stick it under the broiler for a few minutes. The next time I roast some, I'll try tossing it in coconut oil or spraying some grapeseed oil on it and sprinkling it with sea salt and spices.

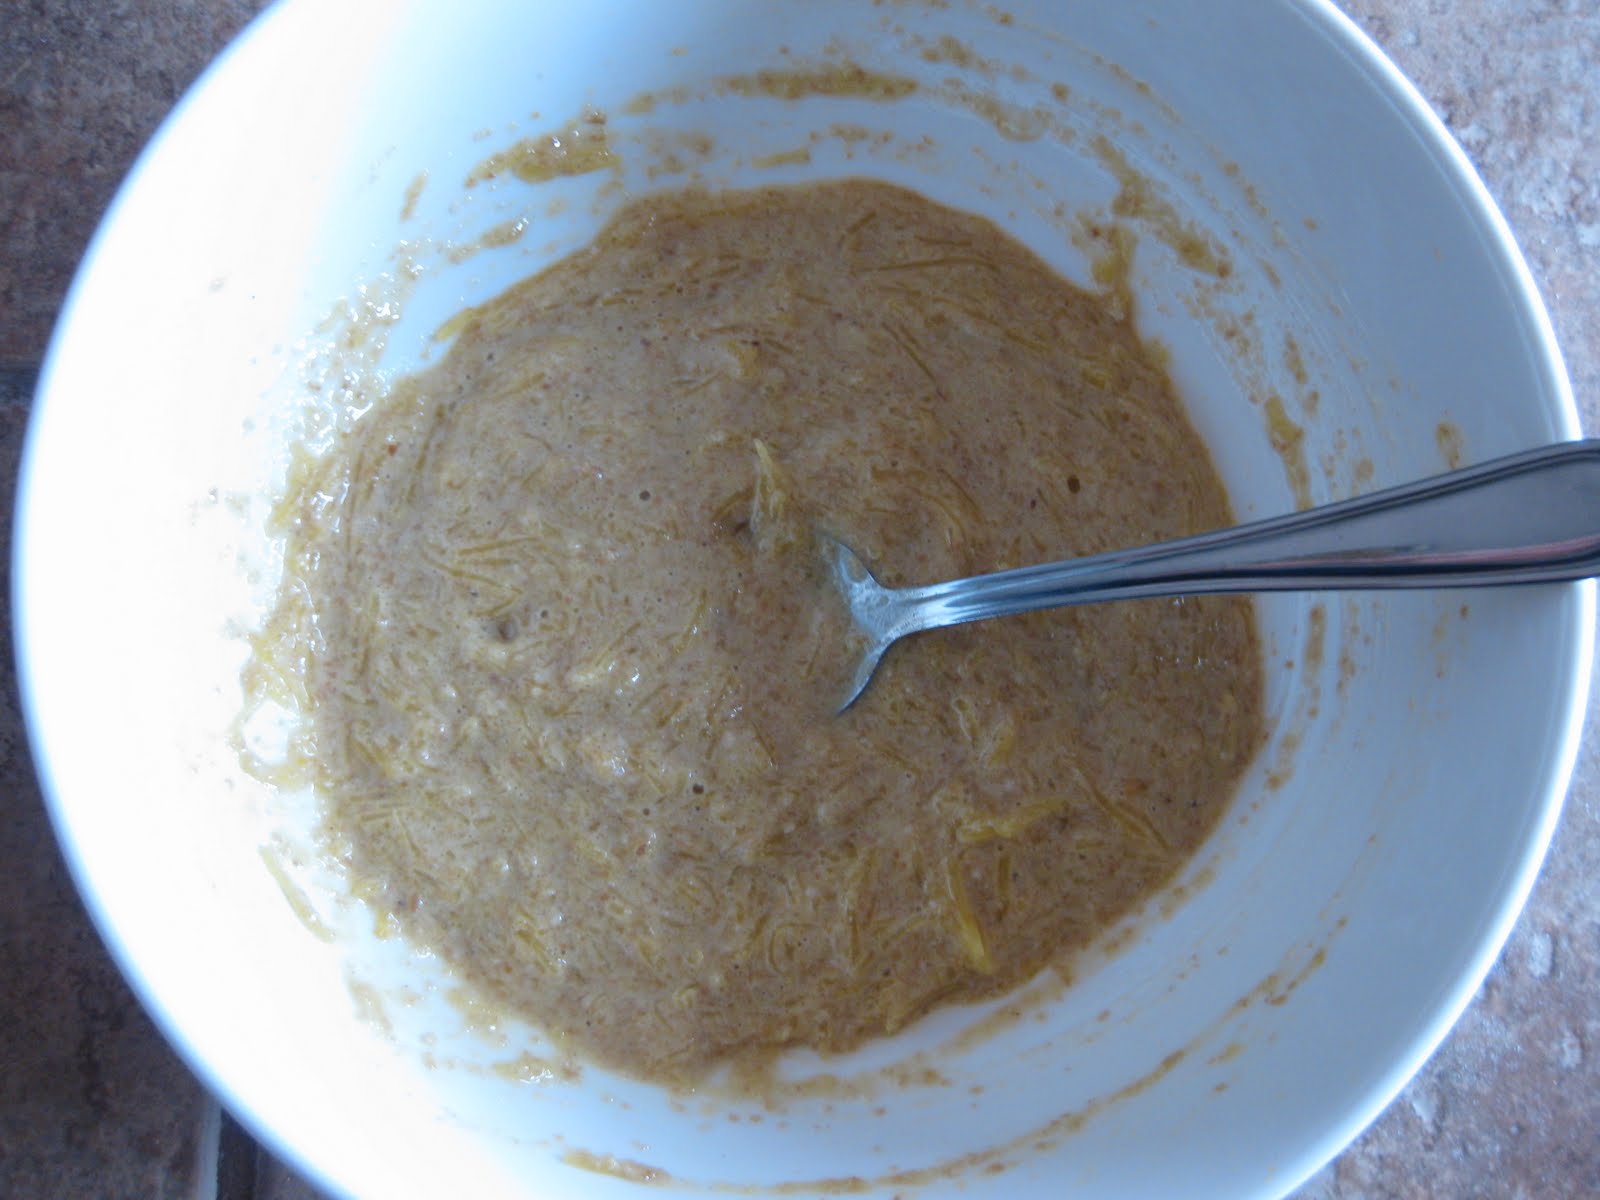
I really liked it by itself, but I also thought it would be good with a sauce (Katie suggested bbq sauce in her post). Store bought ketchup and bbq sauce is full of sugar, so I've been wanting to make my own for quite some time. While the cauliflower was roasting, I experimented with what I had in the pantry, and came up with this.

I loved it with the cauliflower fries, and since then I've eaten it on burgers too. It's not exactly ketchup or bbq sauce, but somewhere in between. I'll have to do a little more tweaking to get the right flavor. I think next time, I'll try chipotle chili powder, for a smokier bbq sauce. If you're trying to cut out sugar, condiments are one thing that you really have to be careful about. Try this instead!

Homemade Ketchup
1 can tomato paste
1-2 garlic cloves, crushed
2 Tbsp olive oil
3/4 water (add more for thinner sauce, less for thicker)
1 Tbsp Braggs liquid aminos (or gluten free tamari)
1/4 cup apple cider vinegar (add more if you like it tangy)
1 Tbsp cumin
1/4 tsp cayenne pepper (adjust amount according to how spicy you want it)
stevia to taste

Blend it all together until it's smooth.

24 March 2011

The Ultimate Comfort Food: Bread Pudding

It's officially spring now, the sun is out more often and flowers are blooming. There's no longer a need for warm, creamy, comforting foods. Haha, yeah right. I don't know if it's human nature, female nature or Miranda nature, but no matter the weather, sometimes I just need some food to console me.

I was feeling that the other day, but when I looked in the fridge, I'll I saw was a bag of old bread crumbs. They were left over from a loaf of GF bread that I'd made over Christmas. I'd eaten half, frozen half, then recently thawed it and nibbled on it for a few days. Believe me, it looked less than appetizing, all dry and crumbly in a wrinkled ziplock bag. I almost threw it out, but then two words popped into my head that changed my life: (Ok, fine. They didn't really change my life at all, they just changed what I was going to eat that day... but just go with me.)

BREAD PUDDING.

(And there was much rejoicing.)

I didn't grow up eating bread pudding, in fact, I'd only had it once or twice in my whole life, and I'd definitely never made it. I really have no idea why it came to me that day, but I'm so glad it did. I got on the internet and pulled up a regular bread pudding recipe on AllRecipes.com.

I tweaked it to fit my diet and adjusted the measurements since I only had a few bread crumbs left. Five minutes later it was in the oven, filling the house with the smell of vanilla and cinnamon.

I was really pleased with how it turned out. Crispy and golden on the outside, creamy and moist on the inside. The only problem was that it didn't make enough. For some reason it only lasted one day...

I cut it into cubes and poured a generous amount of coconut milk on top. (How did I used to survive without coconut milk?)

Someday I'll make this again and take it to a friend's house or have people over for dessert. This time, though, I had no problem eating it all by myself.

Gluten Free Bread
2 cups buckwheat flour
1 cup rice flour
2 1/2 cups water
2 Tbsp baking powder
1/2 tsp salt
3 eggs whisked

Mix dry ingredients in a bowl and then combine with wet ingredients. Stir together. Place in a greased bread tin and bake at 375F for 45-50 minutes or until center is fully cooked.


Bread Pudding
Put 3 cups day old/leftover GF bread pieces and crumbles in bottom of a loaf pan
Drizzle 2 Tbsp melted coconut oil or ghee on top of bread.

In a bowl, beat 3-4 eggs. Then, add 2 cups coconut milk, 2 tsp cinnamon, 1 tsp vanilla extract and stevia to taste. Mix well and pour over bread pieces. Push bread into egg mixture so it's saturated. Bake at 350F for 45 minutes, or until bread is lightly browned on top and spongy when you touch it.

Let bread cool, then cut into 1-2 inch cubes. Fill dessert bowls with cubes and pour plenty of full fat coconut milk on top. Sprinkle with cinnamon and serve.

21 March 2011

Coconut Cauliflower Channa Masala

Last night, I made a Trader Joes run. I am in love with that grocery store. Almost as much as I'm in love with Aldi. :)

By the way, did you know that the owners of TJ and Aldi are brothers? I read it on Wikipedia, so it's true. I'll explain my love for Aldi sometime, but for now, I'll share with you one of my favorite things from TJ:

Since I work full time and usually cook for one, it's great to have easy, healthy lunch/dinner options. Most frozen and prepackaged foods have ingredient lists a mile long (not to mention that they're usually full of several kinds of sugars). Thankfully, TJ has some great single serving meals that are good for you, like this Channa Masala. This is what's in it: onions, tomatoes, chickpeas, water, canola oil, spices, ghee, garlic, salt, cilantro, mango powder, turmeric and bay leaves. Not one single chemical. I like it as is (prepared according to box instructions) on top of quinoa, rice or by itself. The other night, however, I got a little more creative.

The picture really doesn't do it justice, but it tasted (and smelled) amazing. It was super easy, delicious and filling.

Here's what I did:

Dump frozen (or thawed) contents of plastic container into pan. Heat on low until fully thawed (if frozen to start). Once thawed, add 1/2-1 can coconut milk, 1-2 cups cauliflower (or zucchini, green cabbage, bell peppers, etc.). Add cayenne pepper to taste.

Brings a whole new meaning to the term "frozen dinners" doesn't it?

17 March 2011

Minty Green Smoothies and Sweet Potato Pub Chips

Today I'm discovering that holidays are very important in the world of food blogs. Anything goes, as long as it's green. Green drinks, green pies, green cookies, green pizza, green eggs...I guess it makes sense, though, because, I mean, what's a party without the food? Just a bunch of people, shuffling around, talking about the weather or what they heard on NPR this morning...lame-o. At least today they'd be shuffling around wearing green, but they'd be HUNGRY and wouldn't know what to do with their hands! Food definitely makes the fiesta more festive. So here it goes...

Chocolate Peppermint Green Smoothie. I got the idea from Katie, but I didn't have all the ingredients she used, so I threw together this stuff:

It wasn't too bad, but next time, I'd brew the peppermint tea stronger and pour it into an ice cube tray to make the drink icier and thicker. I might also freeze the avocado first for the same reason.

Lovely green foods...


I grated some Baker's chocolate into the smoothie and on top to make it pretty. Chocolate always makes things better.

Now onto a non-green, semi-Irish related food...

Beer and potatoes are the most important parts of an Irish diet (I'm no expert on this, but I am 1/4 Irish, so we'll go with it). I wish I could write about all the amazing beer that I've been tasting these days, what my favorite dark beer is, what pub in Nashville serves the best Guinness, and so forth. Unfortunately, sadly, lamentably...beer is not on my list of "ok" foods. :(

And neither are white potatoes. So, I'll go with the next closest thing: sweet potatoes! I can eat these in moderation right now, so the other night I tried this recipe from Natalie's blog, but with sweet potatoes. They were yummy.

The tricky part is slicing them thin enough to get crispy, but not so thin that they'll burn. I used olive oil and I didn't have a spray, so I think I had too much oil. At first they were crispy, but it didn't take long for them to soften. They still tasted great though...with a little sea salt on top. If any of you have made baked sweet potato chips/fries successfully, please share your knowledge with me. :)

So that's it for my St. Paddy's Day foods. One more thing before you go, though.

If you are in Nashville, you have to promise me that you'll try something ASAP. My favorite GREEN food meal ever.

First, go here (yes, that's a double-wide trailer with a porch built on...don't hate). Then, order this (you can order it sugar free). You will not be disappointed. I guarantee I will dedicate an entire post to this at some point, so stay tuned...

14 March 2011

Grain-free Muffins

I didn't know if I'd be able to enjoy baked goods when I changed my diet. Then I discovered food blogs. :) The tubes of the internet are just bursting with gluten/dairy/sugar free baked goods. It's amazing and encouraging just how many people out there are eating similarly to me. I've already linked to a few on certain posts, but soon, I'll have a list of some of my favorite blogs that have been so helpful in giving me ideas of what to eat and cook.
This past weekend, I successfully created two kinds of breads made without any grains. My roommates can attest to the fact that, even though I've been cooking and experimenting with this diet for months, I still become giddy and smiley when one of my made up recipes turns out. I'll call it the "baker's high", like the infamous runner's high (which I get too), but even better because you get something to eat out of the process.
When the weather is cold, gray and rainy, like it is in Nashville today, it's pretty much essential to have something warm, soft and filling to eat. I don't have a picture of the breads that I made yet, but I'll post some the next time I make them (which could be tomorrow).
The two different muffins above represent flavors that I will keep going back to when baking: rich, dark, chocolate and light, refreshing lemon. Below I've posted the Chocolate Grain-free Muffin and the Lemon Chia Seed Muffin recipes. My favorite addition to any of these baked goods is to spread creamy almond or coconut butter and sprinkle a heavy dose of cinnamon on top. That, my friends, is one great way to cure those cloudy Monday blues.

Chocolate Grain-free Muffins
In one bowl, mix these wet ingredients:

4 Tbsp ghee, melted

3 eggs

1/2 cup full fat coconut milk

1 tsp. pure vanilla extract
1/2 tsp lemon juice

In a different bowl, stir together these dry ingredients:
1 cup ground flax
1 cup almond flour
3 Tbsp cocoa powder
1 tsp baking powder
1/2 tsp baking soda

1/4 tsp sea salt
stevia to taste
Then, blend the dry into the wet ingredients and let rest 5 minutes. Add 1/3 cup of water to loosen up the batter, so the muffins will be moist. Pour into a well greased muffin pan, and bake at 350F for 18-20 minutes. Stick in a toothpick and once it comes out clean, they're done!
Lemon Chia Seed Muffins
3/4 cup coconut flour
3 eggs
1/4 cup coconut oil
3/4 cup coconut milk (I used So Delicious Coconut Milk Beverage, unsweetened)
2 tsp vanilla

2 Tbsp fresh lemon juice
1/4 tsp sea salt
2 tsp baking powder

1/2 tsp baking soda
1 Tbsp chia seeds
zest of one lemon
stevia to taste

Soften coconut oil or butter and blend wet ingredients. In a separate bowl, mix dry ingredients. Then, combine all ingredients together until smooth. Pour into greased or lined muffin tin and bake at 350F for 18-20 minutes.

11 March 2011

Ham, Spinach and Onion Quiche

Breakfast and brunch are two of my favorite meals (lunch and dinner are my other two favorites). Unfortunately, many of the yummy brunch foods that I used to enjoy have sugar, wheat, and cheese in them. It would be easy to feel sorry for myself, imagining a future of mornings alone in my room with a bowl of lettuce, while my friends and family fill themselves with cinnamon rolls, baked brie and mimosas.

Fortunately, lettuce is not my future (I mean, I like lettuce and all, but it ain't no comfort food). There are so many amazing foods bursting with flavor that I get to eat! Speaking of lettuce, did you know that swiss chard has a buttery texture and a natural saltiness? And it's beautiful! Look at some, or (even better) buy some, next time you're at the grocery store.

Sorry, I'm getting off topic now...back to breakfast. How about I stop with the words and show you more pictures of what I eat for brunch.

Quiche! My friend Courtney had a b'day recently, and she had the brilliant idea of having a brunch themed dinner party. So I whipped up this little beauty. By "whipped up" I mean, I was in the kitchen for about an hour trying to decide what to make and then modifying recipes to create something I could eat (but I love doing that stuff). Now that it's created, it's a super quick recipe that can be whipped up. :)

It has a millet crust, eggs, spinach and sweet onion. The ham isn't really ham at all, it's actually a couple of these (I'm not a big fan of pork).


Here's the brunch-loving birthday girl (left) with another sweet friend, Ansley. It was such a fun night of friends and food! I may steal the idea for my next birthday...


Want to make this quiche? Here's how:

For the crust, follow
this recipe for bajra flatbread, only through the step that gets you a ball of dough. Press dough into the bottom of a quiche/pie baking dish. Bake for 10 minutes at 350F.

While the crust is baking, mix together:
3 eggs
1 cup full fat coconut milk
2 Tbsp coconut flour
1/2-1 cup chopped fresh spinach
1/2-3/4 cup ham, cut into small cubes (I used 2 uncured, all beef grass-fed organic hot dogs)
1/4-1/2 cup sweet onion, chopped

1-2 tsp italian seasoning mix (or oregano, basil, thyme, whatever flavor you like)
1/2 tsp sea salt

Then, pour egg/ham/spinach mixture over crust. Bake at 350F for 45 minutes, or when sides are brown.

09 March 2011

Squash Latke with Poached Egg and Avocado

Another delightful spaghetti squash breakfast...

I've got to be honest with you, though, it's not exactly a latke. I may have just chosen a word other than pancake since I recently posted a spaghetti squash pancake recipe. :) And I really like that word. Latke, latke, latke.

Real latkes are potato pancakes eaten during Hanukkah, and they're made from potato, flour and egg. This recipe doesn't use potato, flour or egg. Also...I don't own a dreidel. (I'm a latke-making phony.)

It's really just a savory version (seasoned with basil, oregano, rosemary) of my cinnamon spaghetti squash pancakes, minus the egg. I took the egg out of the cakes this time because I wanted to try my hand at poaching. I LOVE poached eggs, but I've only ever used an egg poaching pan, instead of plain old boiling water. My inspiration came from Alex's post about how easy it is to poach an egg. I had to try.

Following her directions to a T resulted in two perfectly poached eggs. It was sooo easy. The smooth and buttery poached egg complimented the salty, crispy latke so well. And as always, adding an avocado took this meal into breakfast bliss.

Fake latke or not, this is probably what I'll be eating in the Promised Land. After all, I won't be able to eat the milk and honey. :)

07 March 2011

Sprouted Chickpea Hummus

How much is too much hummus? If there is a deadly amount for humans to consume, I've probably come close.

I first heard about hummus in high school--I thought it was ugly and the name made me think of a pumice stone (the ones that people use to rub callouses off their feet). Not exactly something I wanted to eat. I've learned since then, though. Now days, I have to remind myself that hummus is not food group of its own.

I usually buy hummus from Aldi or Trader Joes. The garlic one from Aldi is so so good, and it's super cheap. Since I've found good, healthy, inexpensive brands to buy, I usually don't attempt to make it myself.

But a few weeks ago, Nashville had (another) snow/ice storm, and this time I miraculously got a snow day! A snow day is a rare and precious thing for us 9-5ers. With an entire, unplanned free day, I headed to the kitchen. I'd seen this recipe and was intrigued by making hummus without cooking the chickpeas. I soaked dried chickpeas in a bowl of water overnight the day before, so my first step that morning was to grow sprouts.

Luckily, it was a beautiful sunny (snowy/icy) day. I laid out the soaked chickpeas on a damp paper towel on a baking sheet and set them by a window for a few hours. I forgot to get a picture of the full-grown sprouts, but it was so cool (and a little bizarre looking) when they started to show--kind of like the chickpeas were growing little unicorn horns.

The next step was to throw all of this stuff into my Vitamix blender:
2 cups sprouted chickpeas
4-6 Tbsp lemon juice
4 Tbsp tahini
4 Tbsp Braggs liquid aminos (you can also use tamari or soy sauce)
3 Tbsp extra virgin olive oil
3 cloves garlic, crushed (I used more...I LOVE garlic)
½ cup water (add more if needed)
sea salt to taste

I adjusted the recipe I found online to get the perfect, creamy consistency. Then, I added seasoning. I used cumin and dried cilantro. It was an ok combo, but next time I'll leave out the cumin (or just not add as much) and try fresh cilantro or fresh basil. There are endless possibilities of flavors, and that's the fun part about making your own hummus.

I'll do this again for sure--it was simple and delicious. Most importantly, I can make as much hummus as I need to for my addiction...which is important since Aldi and Trader Joes haven't yet come out with their "milk jug" of hummus.

04 March 2011

Miranda Bars

I'm pretty much obsessed with Larabars...or at least, I was until this past January when I cut out fruit. :( I'm definitely looking forward to the day (hopefully) when I'll be eating them again! Until then, however, I'm happy to munch on my new favorite nutritional bar, the Miranda Bar! (All I need now is a cool umlaut in my name like Lära....and maybe a catchy "Miranda Bar" jingle, like this one by my friend, Annie.)

A couple months ago, there was a Groupon for the company You Bar, which makes bars (and other snacks) according to what YOU want! It's brilliant for those of us who have dietary restrictions. The bars are kind of expensive, especially after shipping costs, but since I had a coupon, I decided to give it a try. I'm really glad that I did, too. It was so fun getting something that I'd created, with my name on it, in the mail! On this diet there aren't many options for packaged, go-to snack foods to throw in my purse, so these are helpful.

The way it works is that You Bar gives you a list of ingredients, and you check which ones you want. Then, you choose a name and they'll ship you a box of your custom bars.

Miranda Bars have an almond butter base with coconut flakes and all kinds of seeds--there's also a little bit of stevia in them. I think they are really good, but they probably wouldn't sell to the masses since they aren't sweet and get kind of melty at room temp. I keep them in the freezer (I did that with Larabars too) and that makes them the perfect texture.

I can thank my new friend, Heather, for her homemade coconut butter recipe that made an awesome frosting for the bars.

Just so you know, I'm not at all affiliated with the You Bar company, I just think they're fun and tasty and would make a great gift! I'll probably order a box of Miranda Bars again!

03 March 2011

Cinnamon Spaghetti Squash Pancakes

When was the last time you saw the words "spaghetti" and "pancakes" in the same recipe? Yuck. Probably never, right?

But oh. You guys. These pancakes are anything but yuck. I didn't want to stop eating them, and now I can't wait to make them again. Guess what else? They're grain free!

Since I'm cutting back on all forms of sugar right now, I have to limit the sweeter squashes like butternut and acorn. Spaghetti squash has fewer natural sugars, so I have been experimenting with ways to use this incredible vegetable. If you haven't cooked a spaghetti squash before, you must try it! It's so fun to pull the baked squash out of the oven and scoop out the "pasta" from the inside. You can make all kinds of great mock pasta dishes with it, but currently, I'm loving using it for breakfast!

Wondering how to get from this yellow "pasta" to these soft and cinnamony pancakes?

Here 's how, in pictures:

First, the ingredients (plus a spaghetti squash, of course)...

Put the squash, egg, ground flax seeds, ground sunflower seeds (I ground them in my coffee grinder), cinnamon, vanilla extract (I used powder), stevia and sea salt into a bowl...

Then mix it altogether until it looks like pancake batter (it will have thickness/texture from the squash, but you want it to be liquidy enough to pour it onto the pan)...

Melt coconut oil or butter in a pan...and start making pancakes!

Flip over when you see the little bubbles appearing...

Perfecto. Buen provecho!


I ate them with coconut oil melted on top and more cinnamon sprinkled over that. It was delish (I love me some coconut oil!), but I bet almond butter or chocolate sauce would be amazing on these.


Anyone have any good (sugar/dairy free) ideas for topping off these pancakes?

01 March 2011

Dark Chocolate Coconut Truffles

These little guys had the honor of being served at my friends Amy and Seth's, beautiful wedding reception this past December. I love that they invited friends and family to contribute to their celebration by bringing homemade desserts. No one at the wedding seemed to mind that these truffles were sugar and dairy free (and what you don't know doesn't hurt you, right?). You really can't go wrong with chocolate and coconut.

They were pretty simple to make, or at least, they will be the second time around. This was my first attempt, so when I added the coconut milk to the melted chocolate, I freaked out when it started to curdle. Now I know that's what happens when chocolate and oil heat up too quickly.

I first tried to help the curdling by adding more chocolate. It sort of worked, but then I had to add more stevia and coconut milk to balance the flavor. I almost gave up, but then, when I took them off the burner and put the mixture in the fridge to cool, the consistency firmed up again and started to look like the inside of a truffle. Phew!

For those of you who might be struggling in your effort to cut out sugar, let these truffles encourage you. We can have chocolate! We don't have to give up dessert!

Here's what to do:
1. Melt 6 squares of Baker's unsweetened chocolate on low heat in a double boiler. I don't have a double boiler, so I set a glass (heat-resistant glass, like Pyrex) or stainless steel bowl on top of a pot of boiling water. The idea is to melt the chocolate evenly without burning it.
2. Stir the chocolate as it melts and add 3/4 cup of full fat coconut milk. Stir together until completely melted and mixed together. Consistency will be thick, creamy, firm and fluffy...like when you bite into a truffle. :)
3. Remove from heat and add 1 tsp. pure vanilla extract and stevia to taste (I used stevia powder, but the liquid form would work well here too).
4. Mix it all together and stick it in the fridge until it's firm enough to roll into balls.
5. Form chocolate mixture into truffle balls and roll into unsweetened, shredded coconut.
6. Put them into the fridge until you're ready to serve them.

That's it!